How To: Download Your 2018 Apple Music Listening History Just Like on Spotify
Around the end of each year, Spotify offers a year-in-review service so its users can see what they listened to the past year and share their listening histories in fun infographics. Apple Music does not have such a feature, unfortunately, but there is a way to curb that FOMO feeling this holiday season by downloading your listening history not just for 2018, but for the entire lifespan of your account.There's a reason this download isn't a user-facing "feature" you can access in the Apple Music app on iOS or Android. It's not even available in iTunes. The reason we have access to these records is thanks to pressure the GDPR placed on not just Apple, but all companies to be transparent about what data they have on users. Apple is taking these regulations in stride, and, while the US is not within GDPR's jurisdiction, it still allows stateside residents to view their listening history.Don't Miss: 30 Privacy & Security Settings in iOS You Should Know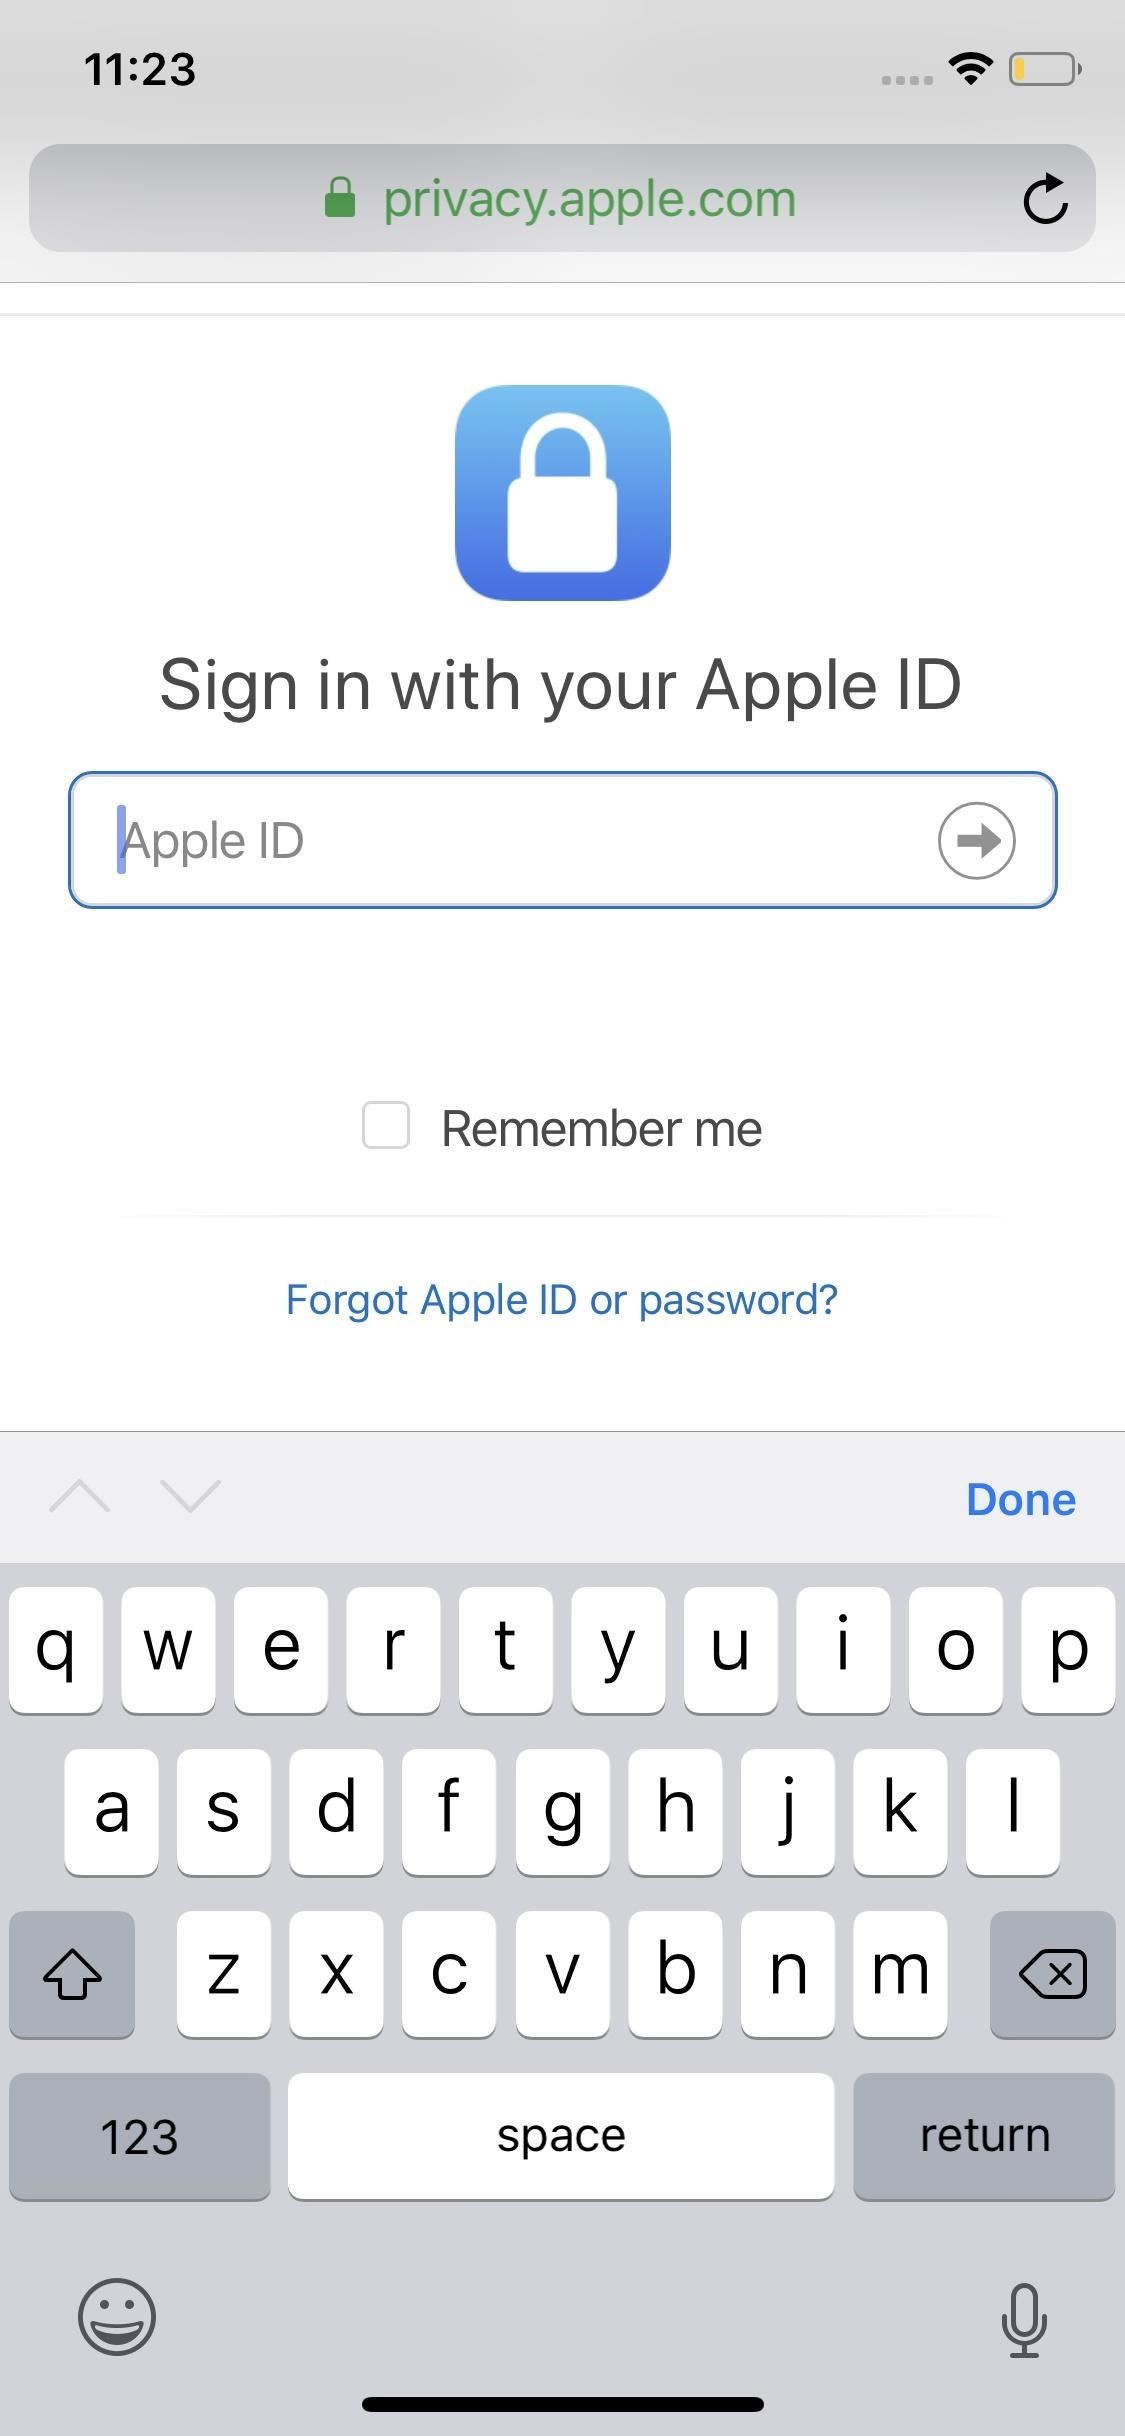
Step 1: Request Your Apple Music Listening HistoryBecause this isn't a true feature, requesting your listening history is more of a process than it is with Spotify, which has a dedicated site for its service called Spotify Wrapped.To start, head over to privacy.apple.com in your mobile browser. Sign in with the Apple ID you use for Apple Music, and complete any authentication required to sign in. Once approved, tap "Request a copy of your data" under "Get a copy of your data," then tap the checkmark next to "Apple Media Services information."Unfortunately, you cannot request only your Apple Music listening history, so your download will also include information about App Store, iTunes Store, Apple Books, and Podcasts as well. You don't need to check any other information here, but if you want to, do it now — downloads can take up to seven days, so better to include these items now than waste time later.When finished, scroll to the bottom of the page, then tap "Continue." Next, choose the maximum file size you'd like for your download. If you choose a file size smaller than the contents of your raw information, Apple will divide the files up. If you don't need to worry about space and would rather everything be together, choose the largest file size possible.Once you select a maximum file size, tap "Complete request." Apple will process the request and, when approved, will let you know the download could take as long as seven days to arrive in your inbox.
Step 2: Download Your Listening HistoryOnce your downloads are ready, Apple will send you an email with all the details, including your download sizes and the expiration date of your information. You will need to use a computer for this step, as Apple does not support downloading this information on iPhone or Android.Open the email from Apple, then click "Get your data." Log in, then click the download icon next to your information on this page.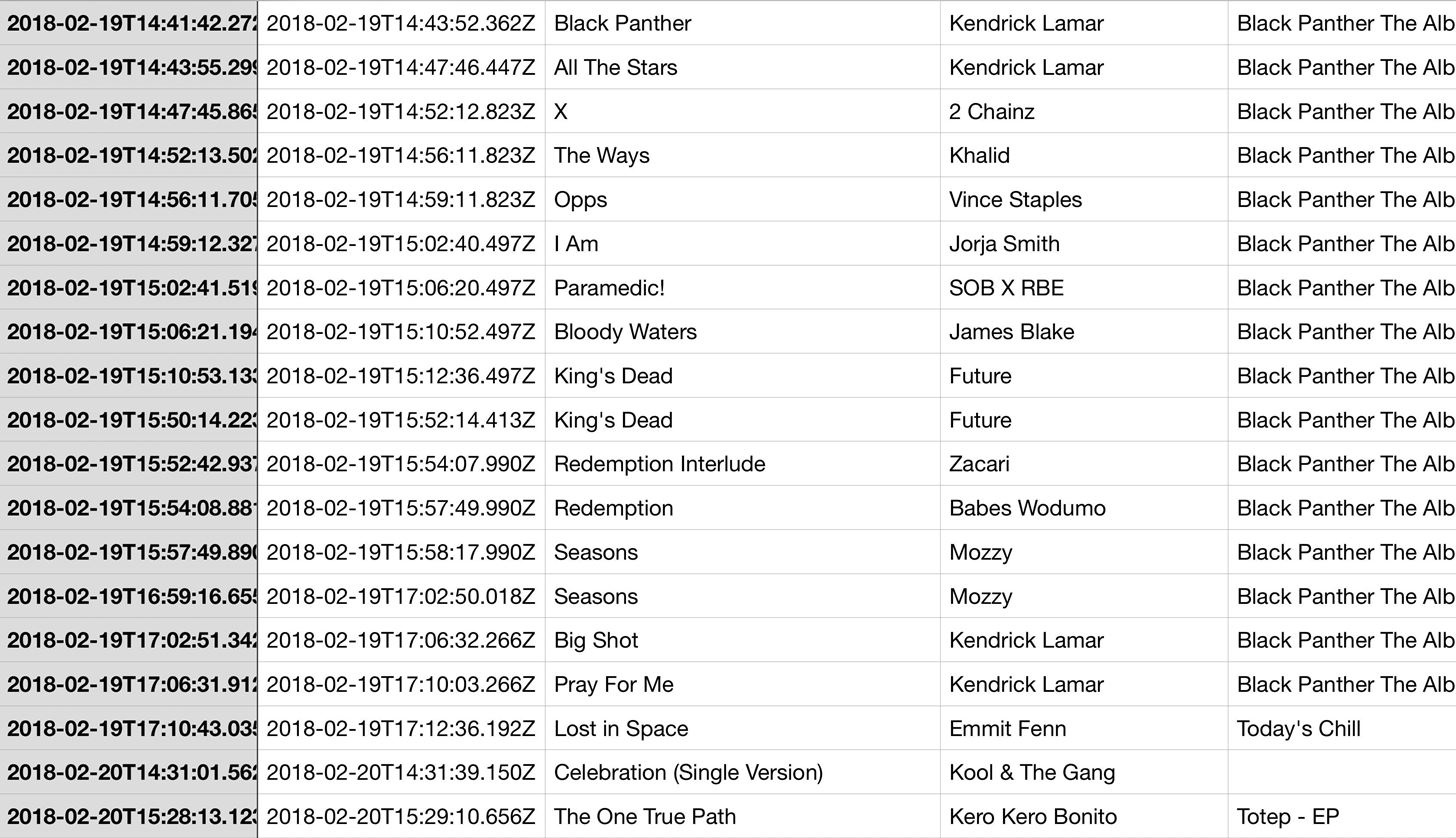
Step 3: View Your 2018 Listening HistoryOnce the files are downloaded, locate and open the ZIP file, then open "App_Store_iTunes_Store_iBooks_Store_Apple_Music." Next, open the "Apple Music Activity" folder to view an array of information about your Apple Music account. You can browse any of these files, but for this article's purposes, you'll want to open "Apple Music Play Activity."This file is the one containing your listening history. It's a spreadsheet, so you can open it in the spreadsheet app of your choice. It goes all the way back to the beginning of your account. If you opened your account in 2018, then it also doubles as a 2018 listening history record.Either way, Apple documents every track you listened to with your Apple Music account, including when you started a song, when you ended a song, song names, the device identifier for the song, your IP address, whether the song was played online or offline, and so much more. The beginning of my 2018 with Apple Music. We still wish Apple would put together a fun infographic like Spotify does to commemorate another year on the platform. However, it's a great step to see Apple being transparent about the data it keeps on us. Feel free to dig around with not only the other Apple Music data included in your download but also all the other data you can request from Apple as well.Don't Miss: How to Find Songs by Lyrics in Apple Music for iOS 12 — With or Without a SubscriptionFollow Gadget Hacks on Pinterest, Reddit, Twitter, YouTube, and Flipboard Sign up for Gadget Hacks' daily newsletter or weekly Android and iOS updates Follow WonderHowTo on Facebook, Twitter, Pinterest, and Flipboard
Cover image and screenshots by Jake Peterson/Gadget Hacks
WiFi Prank: Use the iOS Exploit to Keep iPhone Users Off the Internet Plex 101: How to Change Video Quality to Save Mobile Data How To: Kick People Off Your Wi-Fi Network Using Your Nexus 7 How To: This Widget Lets You Open Wi-Fi Settings Faster, Share Passwords & More on Your iPhone
Remove the Annoying "Wi-Fi Connected" Notification on Android
How To: Automatically Mute Media Playback When You Put Your Android in Priority Mode Messages 101: How to Leave Group Conversations on Your iPhone News: 6 Reasons Why iPhone Notifications Are Finally Up to Snuff in iOS 12
Android Basics: How to Add Your Own Ringtones & Notification
The simple trick that frees up space on your iPhone without having to delete photos, music or apps A Reddit user has discovered an easy way to free up space on the handsets and tablets without
One Weird Trick to Free Up Storage Space on iPhone! - YouTube
To merge Gmail accounts, the first step is to set up email forwards. Log into the Gmail account from which you'd like to forward email. In practice, this would be a secondary email account that you use less. All of the email from this account will be funneled into another email account, likely your primary account checked much more frequently.
Free Unlimited Cloud Space | MultCloud
Step 4: Understanding Your CS540 Wireless Headset. Your CS540 wireless headset has two buttons. The first thing to understand is the Call Control Button. This is how you turn your headset on and off. This is also the button to press if you're using the HL10 Handset Lifter or EHS Cable to answer/hang-up calls remotely while away from your desk.
How to make your wired headphones wireless and Bluetooth
Description: Here is a very cool laser light show. What makes it cooler is that it can be made with items around the home! This one is quite simple and does not take much time at all. Warning: Be very careful during the building of and using of this device, it is quite easy for a mistake to happen
Guide on how to install Android 8.0 Oreo on Any Android phone without struggling. Here, We have added the ROM's of different devices. So, you can choose the firmware update file according to your device and Install Oreo on it.
Nexus 6P Rooting - XDA-Developers Android Forums
Nov 07, 2013 · How to prepare your smartphone for a trip. Here are 10 tips that smartphone-wielding travelers should heed before hitting the road, from adding travel apps to guarding against exorbitant roaming
10 Ways to Prepare Your Cell Phone for a Trip | HuffPost Life
Good news is you don't have to stick with Apple's own lock screen music player. If you're still on iOS 7.0.X and jailbroken, there's a tweak by developer sayeris called Spin that reimagines what the lock screen music player should be on your iPad or iPhone.
How to remove Music Player from the lock screen on iPhone in
9 Tips to Boost Your Android Phone's Battery Life
The DFU Mode is also an important step when you are flashing a custom IPSW or Restoring your iPod Touch using the iTunes. After learning the advantages of DFU Mode, let's proceed to the steps to Put your iPod Touch into DFU Mode.
How To Put Your iPhone/iPod/iPad Into DFU Mode - YouTube
How to Root Motorola's Droid X cell phone from Verizon
FAQ for Samsung Mobile Device. Find more about 'How do I set my photos and videos to always save to SD card instead of to device memory?' with Samsung
0 comments:
Post a Comment