How To: The Ultimate Guide to Using TWRP: The Only Custom Recovery You'll Ever Need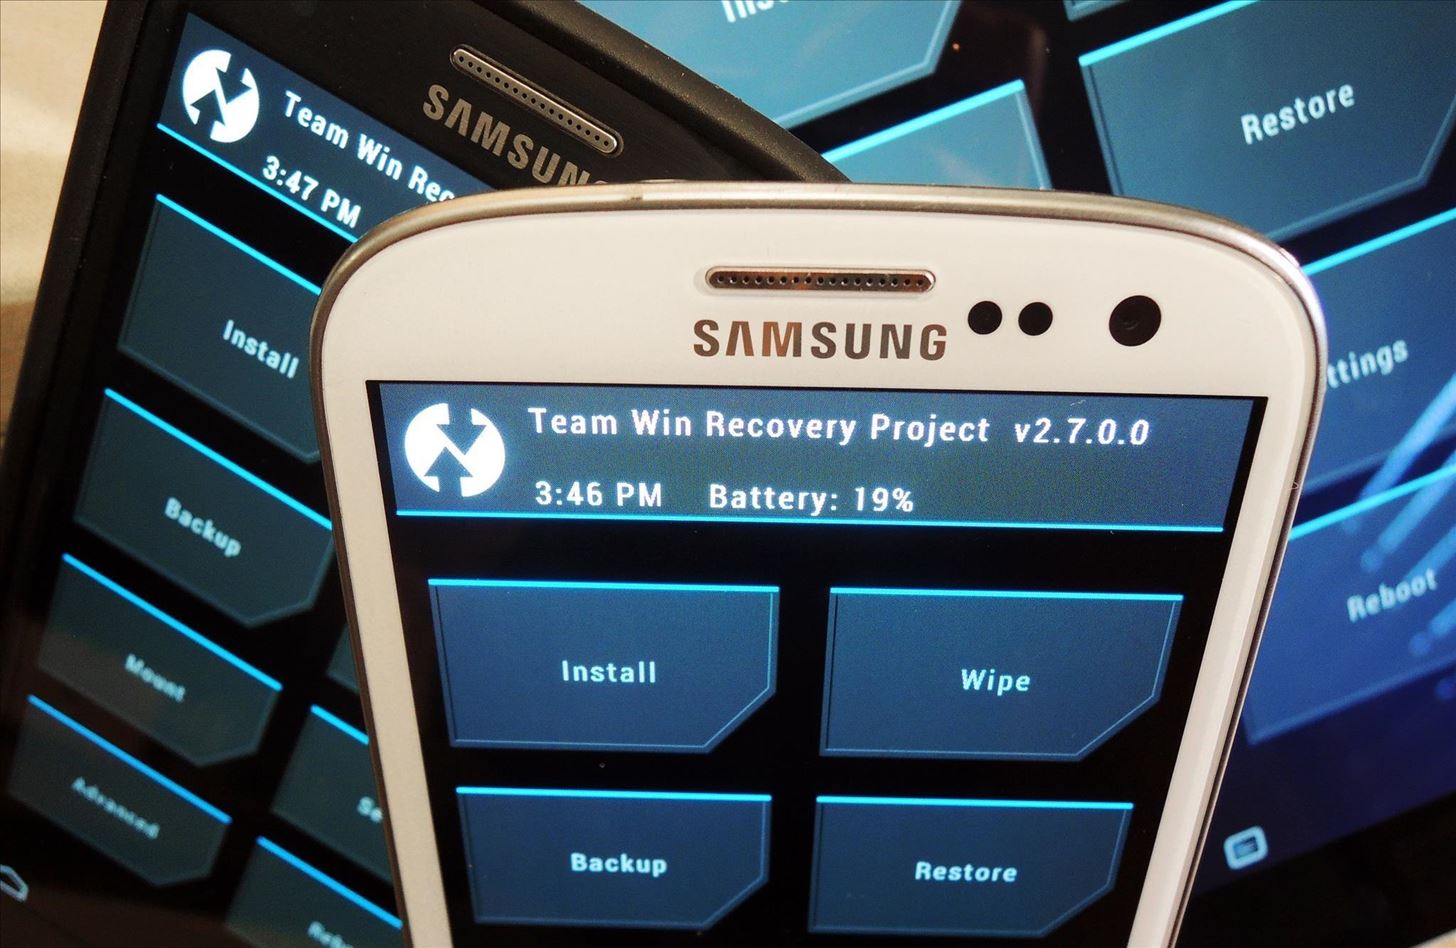
Just the fact that you own an Android device means you're privy to an entire world of third-party development. Many of the mods you'll see here on Gadget Hacks can be performed fresh out of the box, but with root and Xposed, the list grows longer. But to truly be able to take advantage of all that Android's massive development community has to offer, you'll need to have a custom recovery installed.While I can't guide you through installing every custom recovery on every Android device in one article, I can help you learn how to tap the full potential of this powerful tool.This guide is tailored to using TWRP, otherwise known as Team Win Recovery Project, by none other than the TeamWin group. It's the recovery of choice here at Gadget Hacks, due to its widespread adoption and ease of use. The touch-based interface in TWRP makes performing complex tasks a breeze, and many apps and ROMs even tie into TWRP to utilize it as a tool. If you're ready to install the recovery, check out my guide on getting TWRP on your device the easy way, then follow along below to see all this powerful tool can do.
Tip #1. Accessing TWRP's InterfaceThe actual process of booting into custom recovery varies from device to device. If you have one of the more common devices, though, I'll outline the process below.
Google Nexus DevicesTo boot into recovery with any Nexus device, start by powering your phone or tablet completely off. When the screen goes black, press and hold the Volume Down button with one finger. Then, while still holding this button, press and hold the Power button with another finger.This will bring up the Bootloader menu, where you should tap the Volume Down button twice to highlight Recovery Mode. From here, simply press the Power Button once to confirm your selection, and recovery should come right up.
Samsung Galaxy DevicesFor any Samsung Galaxy device that has a physical Home button, booting into Custom Recovery should be the same.Start by powering your Galaxy completely off. When the screen goes black, press and hold the Volume Up, Power and Home keys simultaneously. This will take you directly to your custom recovery.
HTC One (M7 or M8)Before you begin, make sure Fast boot mode is turned off. To do this, head to Settings, then Power, and make sure the box next to the Fast boot option is not ticked.Then, power your HTC One completely off. When the screen goes black, press and hold the Volume Down and Power buttons simultaneously. This will bring up Android's bootloader menu. From here, tap the Volume Down button once to highlight the Recovery option, then tap the Power button to confirm your choice.
Software MethodsAll devices, if rooted, can utilize various software options to enter recovery from within Android. I've previously highlighted some of these options in this tutorial. While the article is geared toward a Nexus 5, all options listed should work just fine on all of the above-listed phones and tablets.
Tip #2. Making a NANDroid BackupFirst and foremost, when using custom recovery to install various hacks, you should always have a backup handy in case things were to go awry. This is called a nandroid—"NAND" as in flash memory, and "droid" as in Android.TWRP has made this process about as simple as it gets. From the home screen, simply tap Backup to begin. From here, leave all the options ticked just as they are, and swipe the slider at the bottom to create your backup. This will create a set of image files that function as a snapshot of your device's current setup. If you ever need to restore this backup, every tiny little aspect of your device will be recreated as if nothing ever changed.Because nandroids are snapshots of everything, they can take up quite a bit of storage on your device. For this reason, you may want to consider copying the file over to your computer via USB cable—they will be in your TWRP/Backup folder.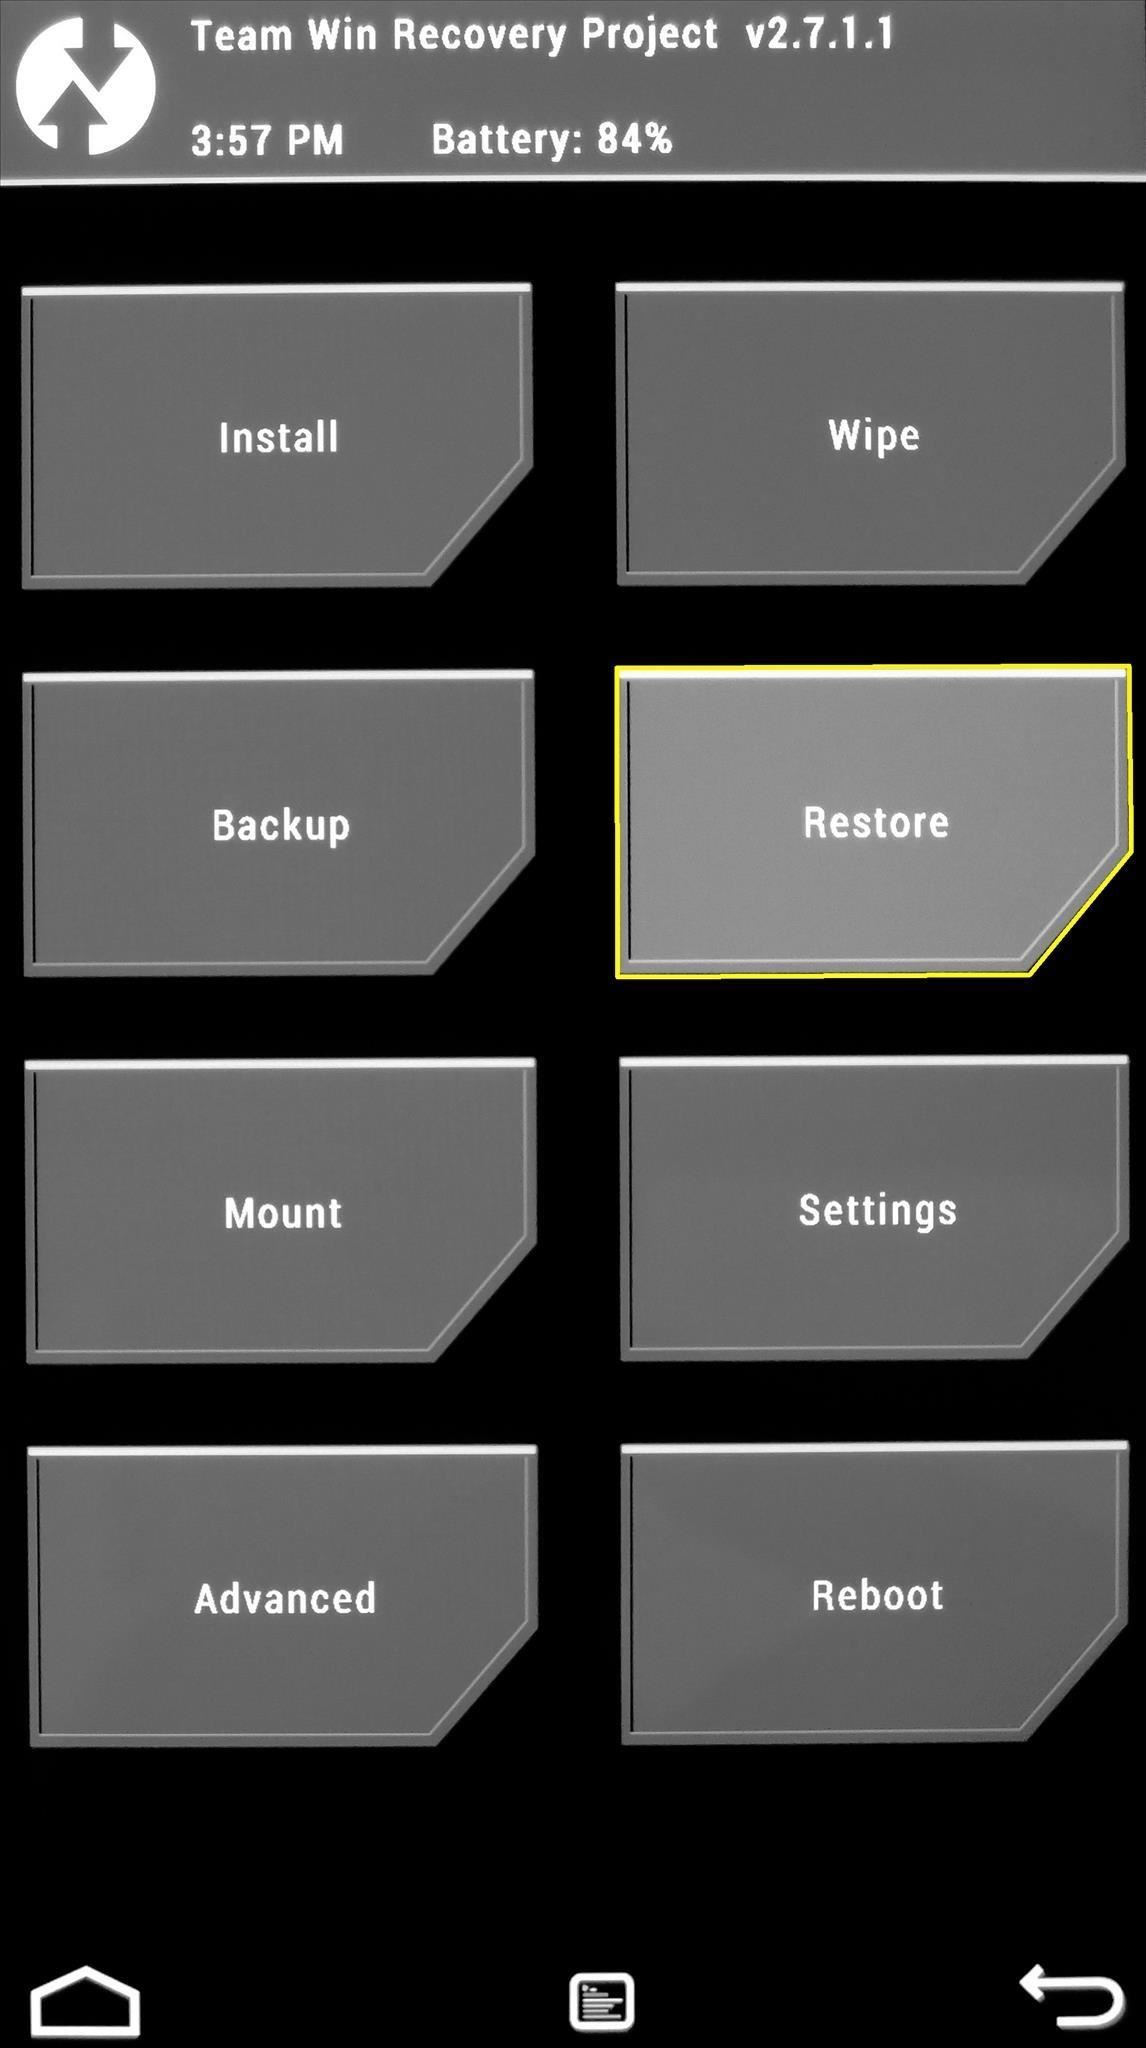
Tip #3. Restoring an Existing BackupSay you've already created a backup and you were tinkering around with a cool mod. But this mod wasn't compatible with your device, and now you can't seem to start Android. No worries, you have a custom recovery installed, remember?From TWRP's main screen, tap the Restore button. Next, you'll be shown a list of all the backups you've made with TWRP. Just tap the one with the most recent date as its file name, and you'll be presented with the available partition images that you can restore. If you copied the nandroid to your computer, move it back to the TWRP/Backup before you restore.Again, it's probably best to leave everything ticked, then you can simply swipe the slider to restore. When the restore process is finished, everything on your Android device will be exactly the same as it was when you created the backup files.
Tip #4. Flashing ZIPsLet's face it, this is the main reason you installed a custom recovery—to have access to all of the hacks that come in the form of a flashable ZIP file. In fact, it's such a key feature of TWRP that it's the very first button on the home screen.To start flashing a ZIP, just hit the Install button on TWRP's main menu. From here, you'll be shown your device's internal storage folder tree. As a rule of thumb, ZIPs that you've downloaded from the internet will be in your Download folder, so head in there. From here, it's just a matter of tapping the ZIP file in question, then swiping the slider at the bottom to flash it.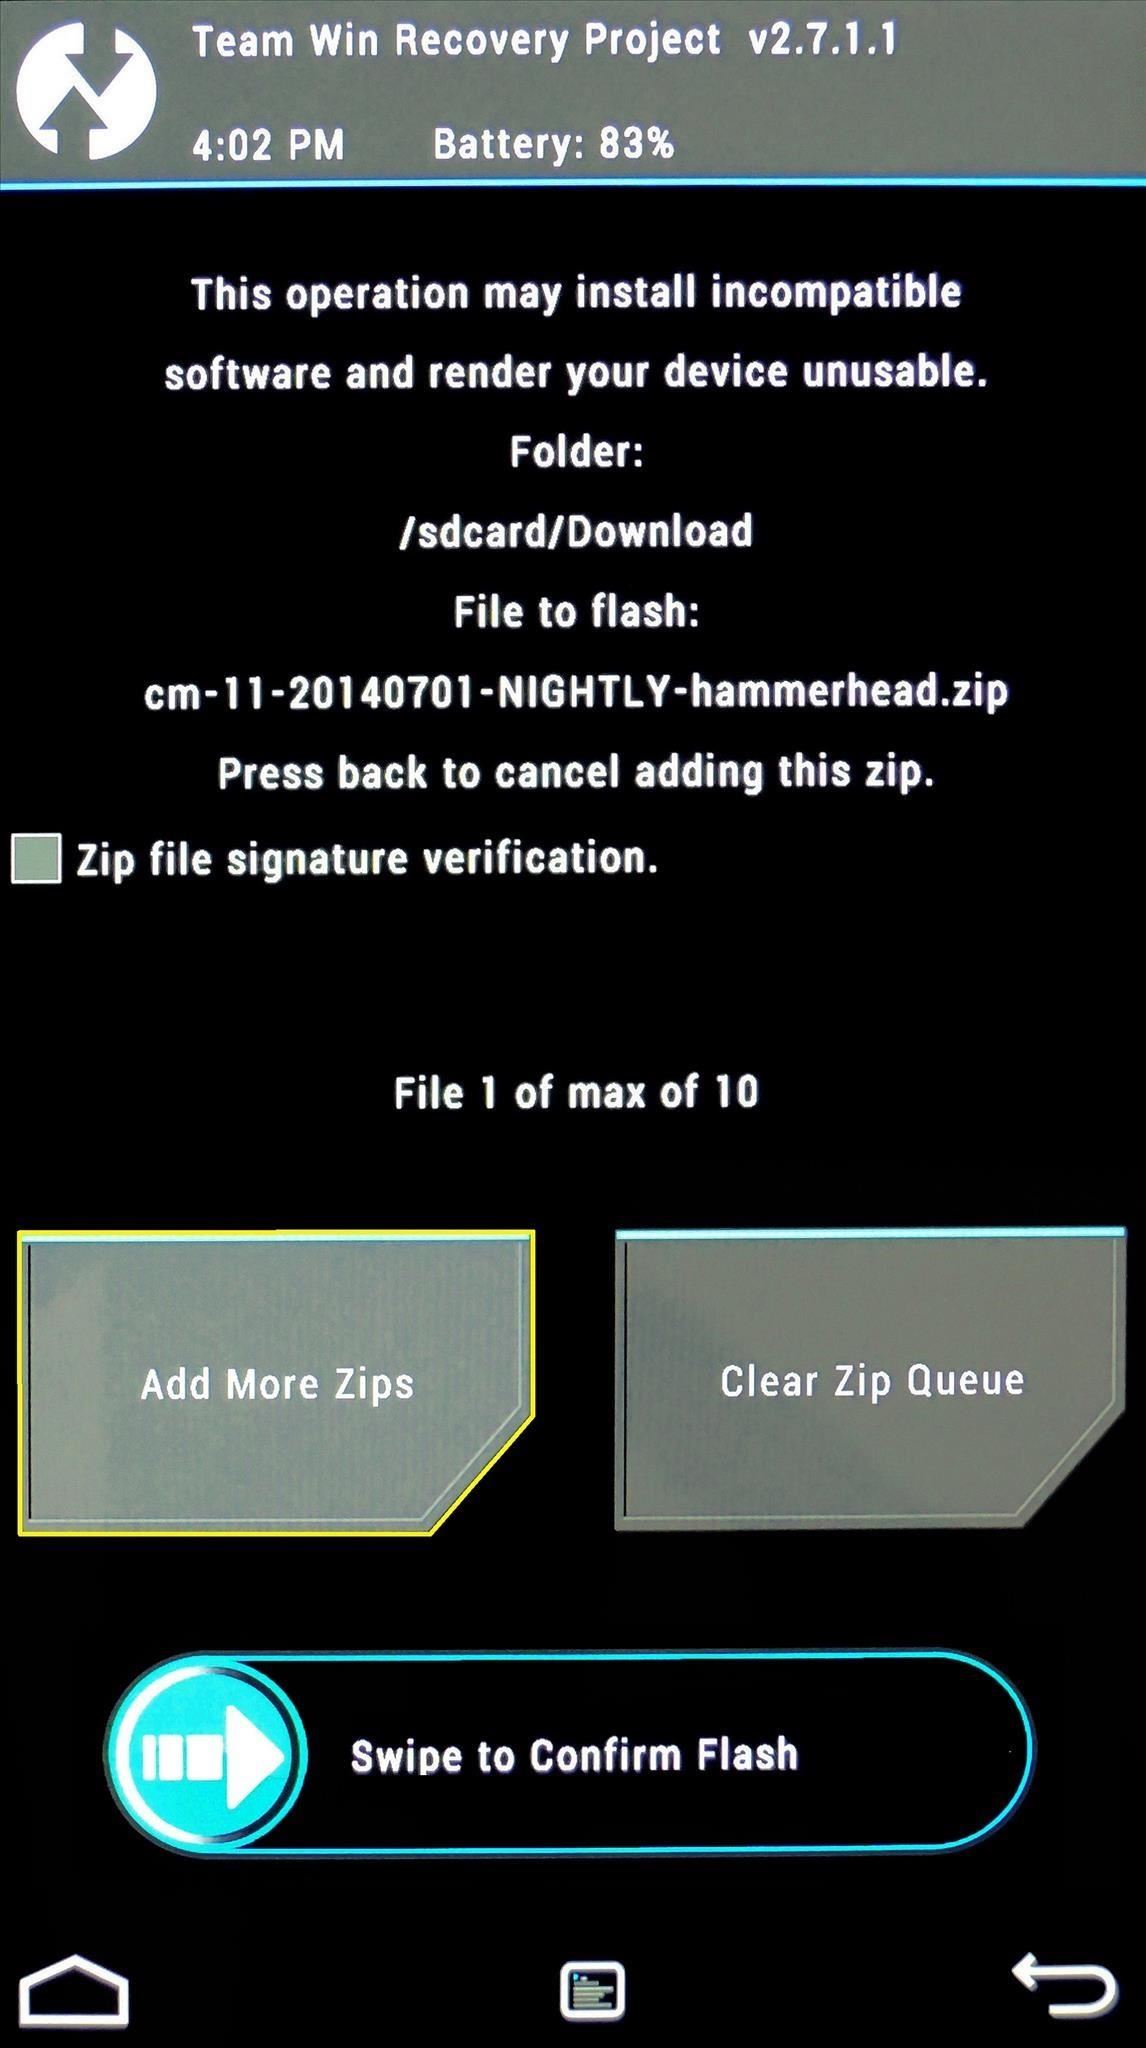
Flashing More Than One ZIP at OnceBut let's say there are multiple ZIPs that you want to flash at one time. This is common with custom ROMs that require a separate ZIP for access to Google apps and such.When you've tapped the first ZIP, rather than swiping the slider to install it, then repeating the process for all the ZIPs in question, simply hit the Add More Zips button. This will take you back to the folder tree view, where you can select your second ZIP. Hit Add More ZIPs again to add a third, and so on. When you're satisfied with your selections, swipe the slider at the bottom, and all of your ZIPs will be flashed in sequential order.
Finalizing the Flashing ProcessAfter installing a ZIP file, TWRP gives you a few options: Home, Wipe Cache/Dalvik and Reboot System. The first option takes you back to TWRP's main screen, and the third option should be self-explanatory. The second option, Wipe Cache/Dalvik, is one that should be noted.Android accumulates various bits of data as you continue to use it. Sometimes, this data is specific to your current setup. Certain mods will cause conflicts between the new functionality they bring and the existing data on your device.Most mods, however, will not cause a conflict with this data. But when in doubt, wipe it out—simply tap Wipe Cache/Dalvik after flashing a ZIP, then swipe the slider at the bottom to remove any potentially-conflicting data.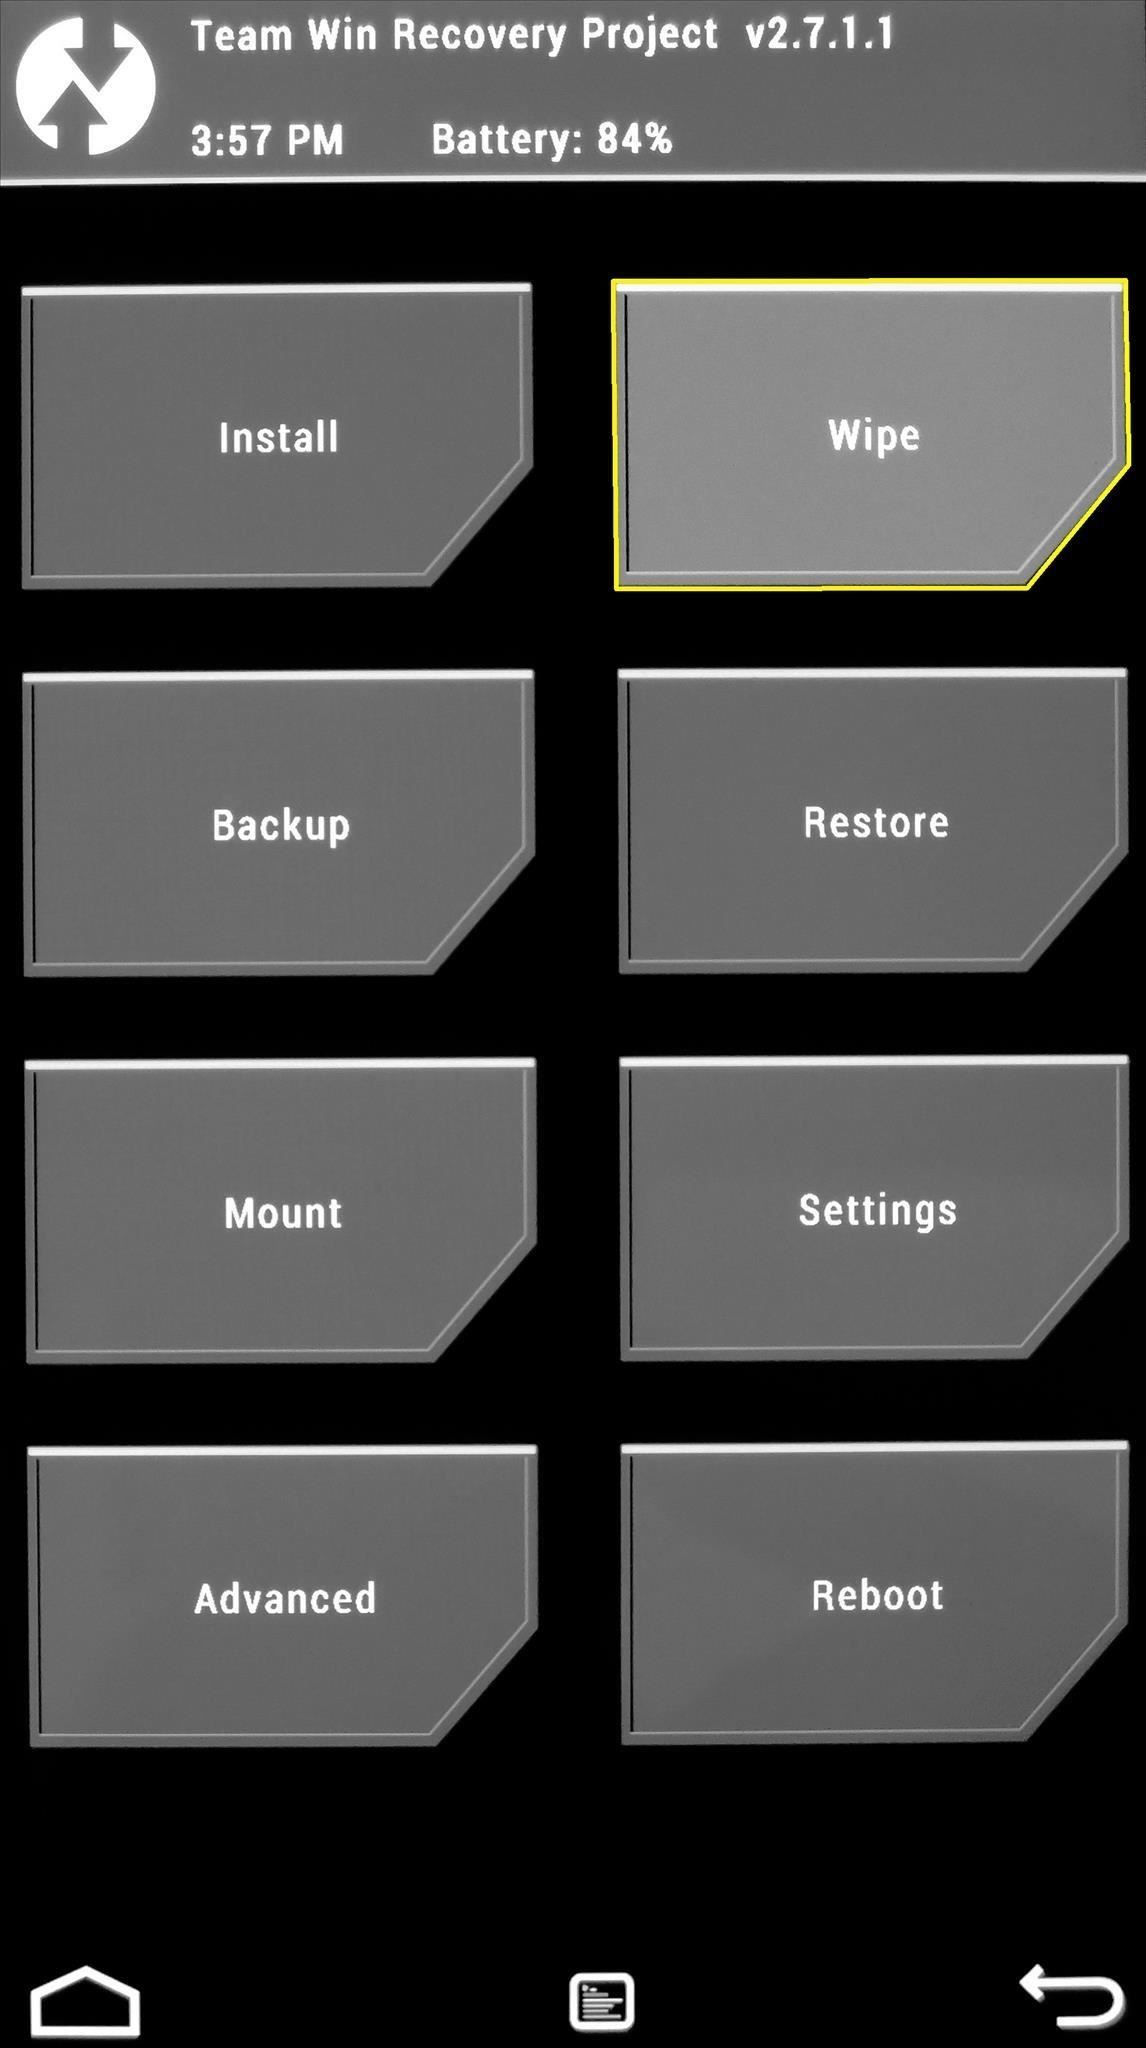
Tip #5. Wiping Existing DataWhen using TWRP to install a new ROM, it's a good idea to wipe the existing firmware to give the new system a clean slate upon which to install.So before installing CyanogenMod, for instance, you'll want to wipe the stock firmware from your device so there are no conflicts. From TWRP's main screen, tap Wipe to begin. The preset wipe mode will work perfectly fine in most cases, so swipe the slider at the bottom to perform the wipe. If you're experiencing bugs and you want a completely fresh start, or you just want to be entirely sure there's no preexisting data left to cause conflicts, you can use the Advanced Wipe feature from the same screen. From here, just tick the boxes next to Dalvik Cache, System, Data and Cache, then swipe the slider at the bottom to perform a full wipe.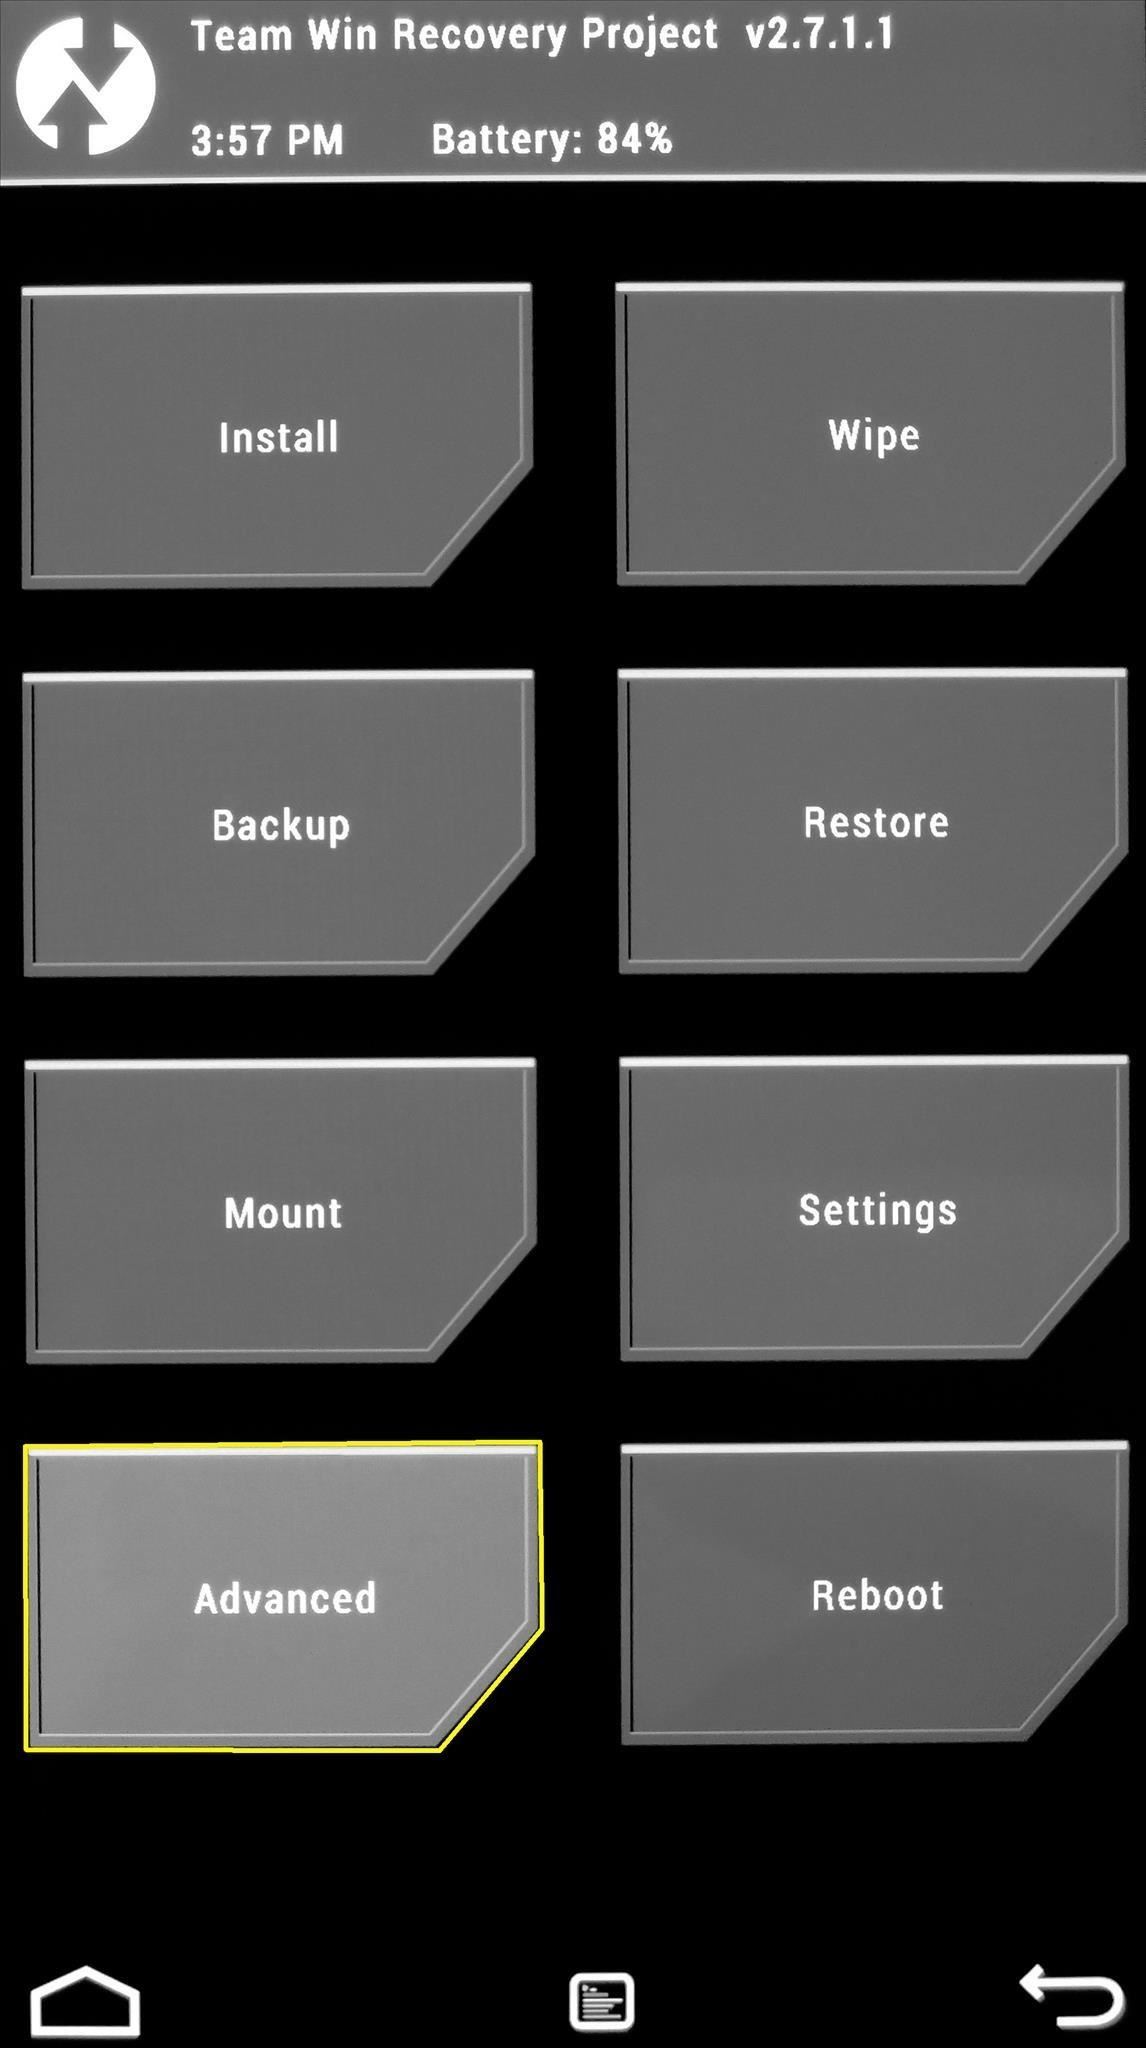
Tip #6. Fixing PermissionsSometimes, flashing mods and installing root apps can cause Android to sorta "forget" what permissions various apps had to begin with. System-level apps need their permissions set a certain way to perform correctly, so you could end up with minor bugs and force closes after installing a hack.If this ever happens, you can easily reset all apps on your device back to their proper permissions using TWRP.From the main screen, tap Advanced, then choose Fix Permissions from the following menu. Then just swipe the slider at the bottom and all of your apps will automatically be given the proper permissions for their respective folders.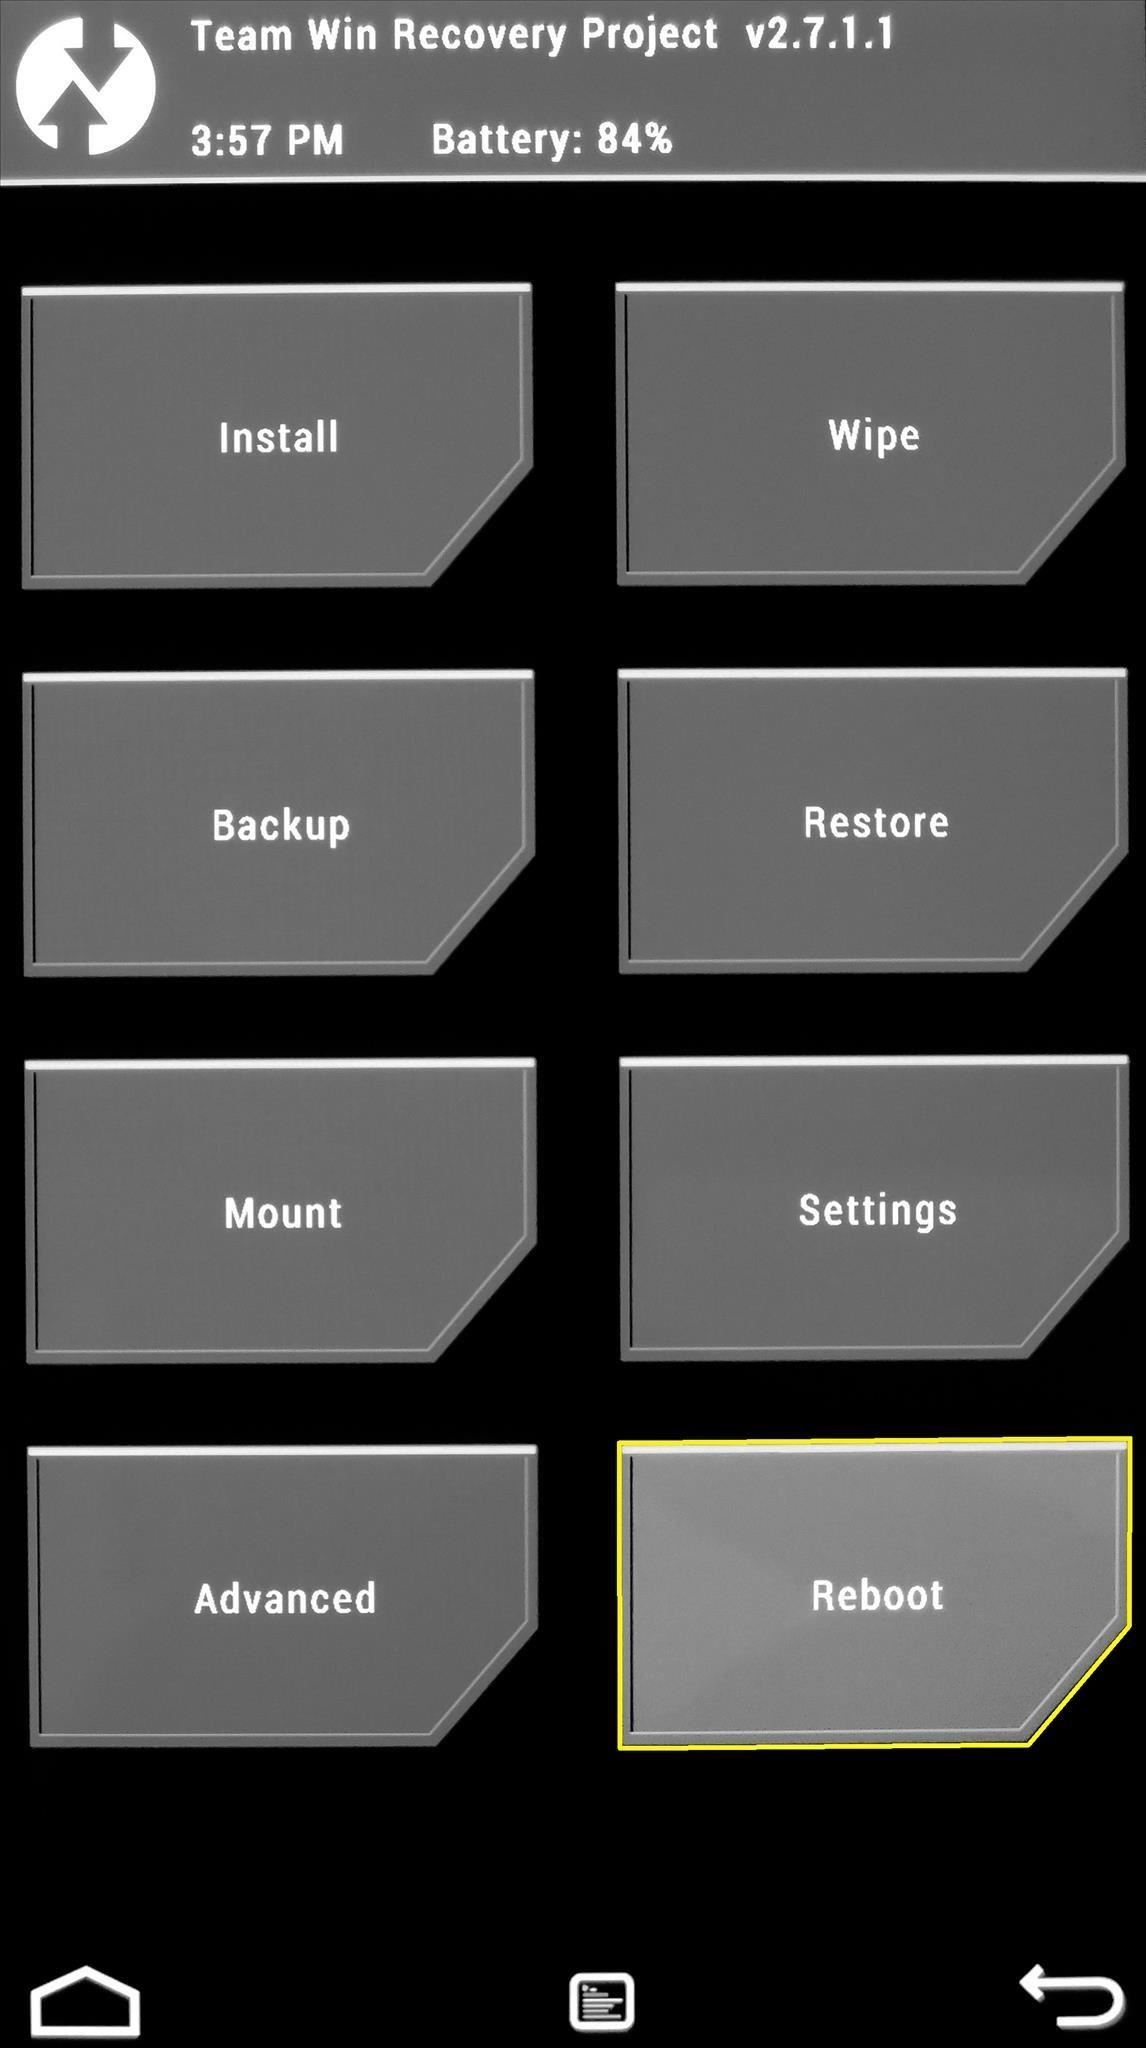
Tip #7. Booting Back into AndroidTo get out of TWRP and back into Android, start by tapping the Reboot option from the home screen. On the next menu, simply tap System to boot back into Android. I hope this guide helped you get to know TWRP, because there are so many powerful things it can do. If you have any questions, post them in the comments section below and we'll be sure to answer them.
Good Lock, an app from Samsung, does just that, giving users a way to easily tweak the notification tray, quick settings panel, and recents menu-not to mention get a more stock Android-like appearance. It's not just available for the S7 and S7 Edge, either—Good Lock is also available for the S6, S6 Edge, S6 Edge+, and Note 5.
Customize Your Android's Pull-Down Menu with Beautiful
How To: Stop Android Lag in Its Tracks on Your Nexus 7 for a Super Smooth Tablet How To: The Real Story Behind Rooting the Samsung Galaxy S4—And Its New Secured Kernel How To: Lower Vibration Feedback on Your Pixel 2 to Make Notifications Quieter
Secure Your Samsung Galaxy Device by Disabling the Clipboard
News: The Latest Razer Phone 2 Leaks Suggest Project Linda Might Actually Happen Razer Phone vs. Galaxy Note 8: Comparing the Android Phones with the Best Specs News: Razer Phone Officially Available for Order — Here's Where You Can Buy It Now How To: Everyone Should Buy a Gaming Phone — Not Just Fortnite Junkies
Customize Your USB Keyboard with a DIY Illuminated Base with
A new swipe-left feature to delete emails was promised to us in iOS 8 for the Mail application. And yet, when I swipe left, it only shows More, Flag and Archive. That is beyond disappointing. How can I get it to show Delete instead of archive from the inbox? I need a fast way to delete mails so they go straight to the Trash.
Outlook Mail, Delete or Archive on Swipe - Microsoft Community
Apple however, deems an iPhone ineligible for service if it shows intentional tampering or damage, is a disassembled unit or missing parts, contains non-Apple batteries, or is damaged
Water Damage and replacement - Apple Community
Android Lollipop contains a hidden Flappy Bird clone. Here's how to find it and destroy your productivity. Good luck scoring any points in Android's 'Flappy Droid' easter egg a Flappy Bird
How to Play the Hidden Flappy Bird Game on Android Lollipop
Using a simple trace trick, you can easily look up the IP address and its location for any website. This method uses a command line command to first find the IP address of a given website, and then uses a free online tool to get that IP's location.
How do I determine the physical location of an IP address?
By default, Windows will stick to one language for all apps unless you change them. What few people know is that you can set language on a per-app basis in Windows as well. When you set language on a per-app basis in Windows, it remembers which language you preferred to use in a particular app.
Use a Different Language in Each of Your Android Apps [How-To
Kssxs I find I tend to create an exit task for anything I put in my entry task, only so that I'm absolutely sure I know the state of something when I've left the area in the original conditions that would have put it into that state to begin with. So, when I get home, the task does something, then when I leave, the exit task reverses it.
Tasker FAQ (Tasker how to) - Not Enough TECH
7 White Hat SEO Techniques to Double Traffic | SEJ
Edit the AnyConnect VPN group policy and download the AMP Enabler Service Profile. Login to the AMP dashboard in order to get the connector URL download link. Verify the installation on the user machine. Step 1: Configure the AnyConnect AMP Enabler Client Profile. Navigate to Configuration > Remote Access VPN > Network (Client) Access
Internal storage (ROM): Samsung GALAXY Core Prime | T-Mobile
How To Transform Smartphone Into Head Up Display - YouTube
Although widgets were finally introduced in iOS 8, they weren't exactly the widgets we were expecting, i.e., the ones seen on Android home screens. Don't get me wrong, they're still very useful in the Notification Center, since they can be accessed with a quick pull-down from any screen, but there are some widgets that would work better right on the home screen.
The Easiest Way to Add Widgets to the Today View on Your
0 comments:
Post a Comment