How To: Root the Nexus Player
UPDATE NOVEMBER 2015:The root process has changed for the Nexus Player now that the device is running Android 6.0 Marhsmallow. I've updated this article with detailed instructions on the new root process, but the video below still depicts the old process for Android Lollipop.If you'd like, you can use the video for reference, since it's still helpful for a few aspects of the Marshmallow root process. But when it actually comes time to root, I'd suggest that you only follow the steps outlined in this article.END UPDATEAt its core, the Nexus Player is truly an Android device. This means that pretty much anything your smartphone can do, Google's new set-top box can do just as well.Getting root access is no exception to this rule. Legendary Android developer Chainfire has already devised a quick and painless method that will grant you Superuser privileges on the Nexus Player in no time, and I'll outline the process below.
What You'll Need for This MethodNexus Player running Android 6.0 Marshmallow Windows PC Micro USB data cable Mouse connected to Nexus Player
Step 1: Put Your Nexus Player into Bootloader ModeTo begin, unplug the power cable from your Nexus Player and flip the device over. Wait a few seconds for any capacitors to clear their charge, then press and hold the Bluetooth pairing button on the bottom of the device. While still holding down the Bluetooth button, plug the power cable back into your Nexus Player. Watch the LED light on the bottom of the device—when it starts blinking, you can let go of the Bluetooth pairing button. Shortly after that, you'll see Android's bootloader menu coming up on your display. The menu looks like this: Next, just connect your Nexus Player to your PC with a micro USB data cable.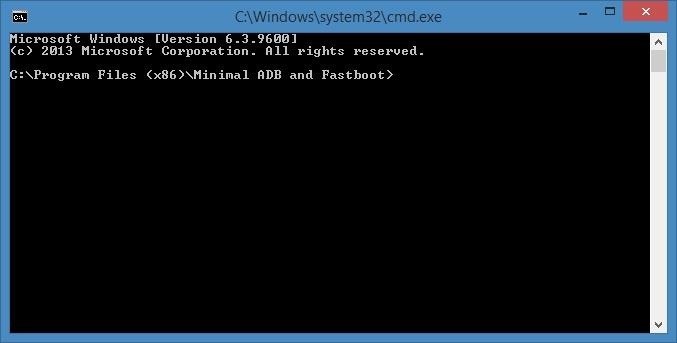
Step 2: Download the Necessary FilesOn your PC now, there are a few files that you'll need to download. First, since we'll be rooting the device with Fastboot commands, you'll need ADB and Fastboot drivers. You can download the installer file at this link—simply run the file and follow the prompts, then the Fastboot drivers will be installed on your system.Next, you'll need an ADB and Fastboot package to actually run the commands. Download "Minimal ADB and Fastboot" at this link, then run the file to install the program. When installation is finished, you'll see a command prompt window. Leave this window open for later. Then there are 3 files you'll need for actually rooting your Nexus Player. First up is a modified boot image, which can be downloaded at this link.Secondly, you'll need Chainfire's SuperSU ZIP, which can be found here.Finally, you'll need a copy of TWRP recovery for the Nexus Player, which you'll be using to install the SuperSU ZIP. That file can be found here.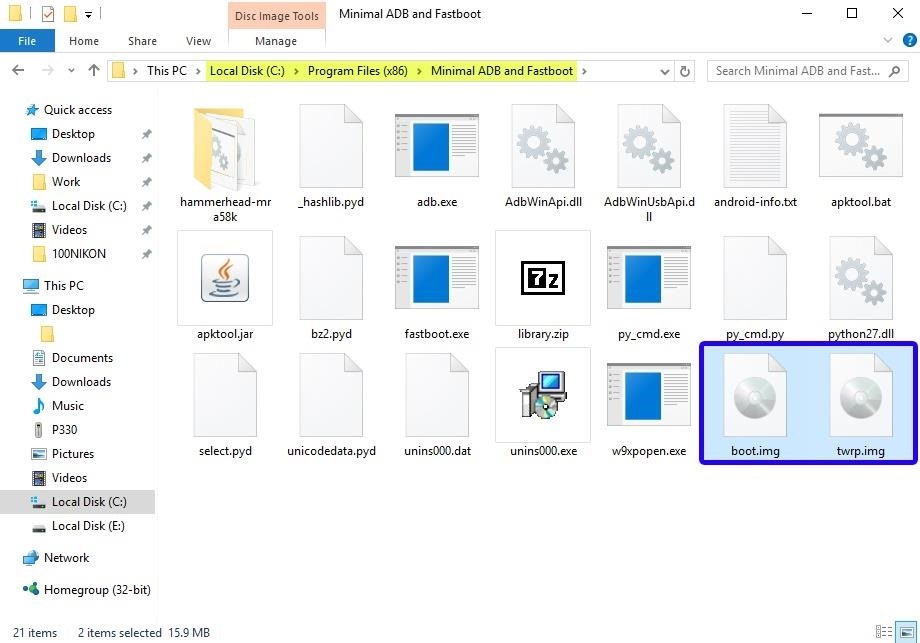
Step 3: Move the Root Files to the Right LocationsNext, there's a tiny bit of maintenance you'll have to do. Start by copying the twrp.img and boot.img files over to the Minimal ADB & Fastboot program folder on your computer. This location can vary depending on your Windows version, but for most users, it can be found at C:\Program Files (x86)\Minimal ADB and Fastboot. From here, you'll need to transfer the BETA-SuperSU-v2.52.zip file over to your Nexus Player's internal storage. If you haven't already set up a method for transferring files to your Nexus Player, you can use steps 1 through 3 depicted here.
Step 4: Unlock the BootloaderNext, you'll have to unlock the Bootloader on your Nexus Player if you haven't done so already. Be warned that this will wipe all of the data on your device, so you'll have to run through initial setup again and reinstall your apps, and you will lose any media that you have stored on your Player.To begin, bring that Minimal ADB and Fastboot command prompt window back to the forefront. Type fastboot devices into the command prompt to verify that your Nexus Player is connected properly, then hit the Enter key. If you see a hardware ID number, you're good to go. Next, type fastboot oem unlock, then press Enter again. The first time you run this command, you'll see an error message, but this is to be expected. Simply type the same command a second time, and your Nexus Player's bootloader will be unlocked. After that, type fastboot reboot-bootloader, then hit Enter again.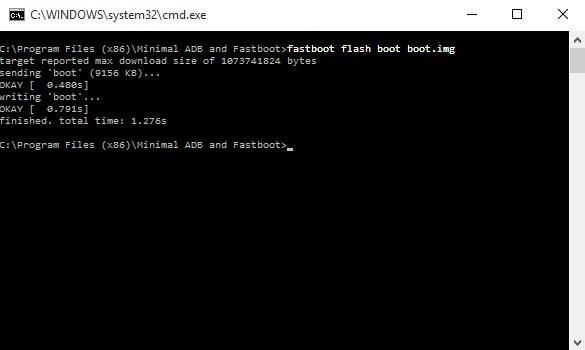
Step 5: Install TWRP & the Modified Boot ImageWith the same command prompt window open, type fastboot flash boot boot.img and hit enter to install the modified boot image. When that process has finished, type fastboot flash recovery twrp.img and hit enter to install TWRP recovery on your Nexus Player. At this point, you're done with the command prompt, so you can disconnect the USB cable from your Nexus Player if you'd like.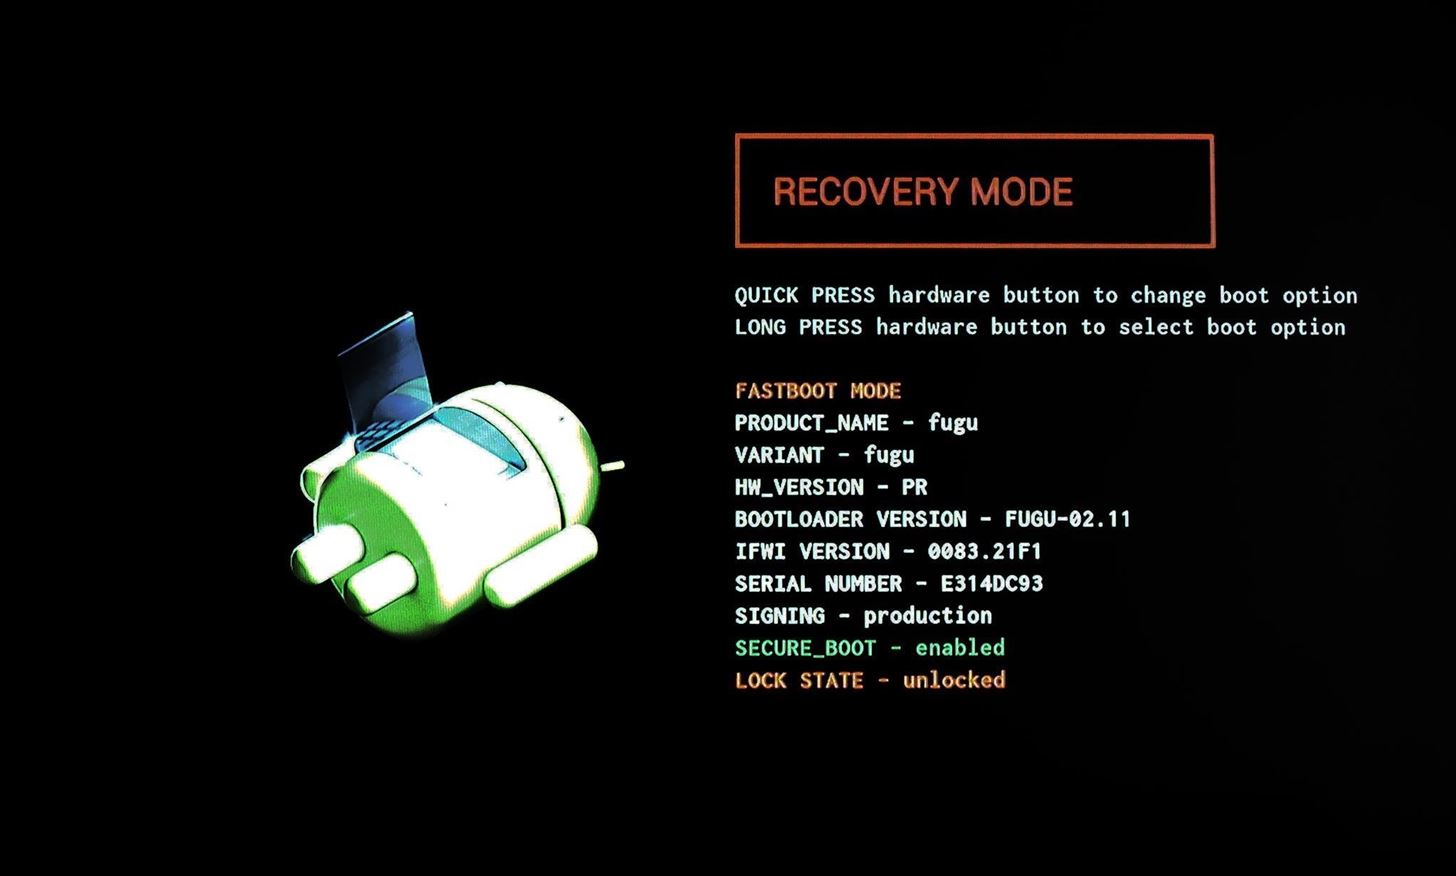
Step 6: Boot Your Nexus Player into TWRPFrom here, you're just about ready to root your device. With your Nexus Player still in Bootloader mode, press the Bluetooth pairing button on the bottom of the device one time to highlight the "Recovery Mode" option. From here, press and hold the pairing button for 3 seconds, then release it. At this point, your Nexus Player should boot into TWRP recovery. TWRP on the Nexus Player
Step 7: Root the DeviceAll that's left to do now is to root your Nexus Player. From TWRP's main menu, use your mouse to click the "Install" button, then browse for and select the BETA-SuperSU-v2.52.zip file. From here, use your mouse to swipe the slider at the bottom of your screen, which will install SuperSU and root your Nexus Player. When the process has finished, click the "Reboot System" button and you should be rooted when you get back up. Now that you're rooted, are there any particular mods that you'd like to see covered for the Nexus Player? Tell us about it in the comment section below, or drop us a line on Facebook, Google+, or Twitter.
How To: Get Custom Themes for YouTube on Android — Even a True Black OLED Theme News: Samsung's One UI Update Makes Internet Browsing Way Better at Night News: The Pixel 2 Has a Semi-Transparent Notification Shade — Even with the Dark Theme Enabled
YouTube 101: How to Enable the Dark Theme on Your iPhone
News: In Just a Clik, Turn Your Smartphone into a YouTube Remote for Any Web Display Google+ Pro Tips Round Up: Week 8 How To: Watch World Cup Live Streaming in US for Free News: 10 Uses for the Front-Facing iPhone Camera
How To Turn Your Phones Into WiFi Security Cameras - YouTube
How To: Make Trippy EL Wire Headphones That Dance to the Beat of Your Music How To: Prevent the Screen from Waking When Plugging in Your Galaxy S4 to Charge How To: The Galaxy S8's 'Adapt Sound' Feature Makes Your AKG Headphones Actually Sound Premium How To: Music Not Loud Enough? Here's How to Increase the Volume Limits on Your Samsung Galaxy
sai-contributor Archives - November 30 2012 - Business Insider
Siri Exploited: Bypass the iPhone's Lock Screen to Browse Contacts, Make Calls, Send Emails, & Texts (iOS 7.1.1) How To: New iOS 9 Flaw Exposes Private Photos & Contacts—Here's the Fix How To: Use S Voice Commands on a Samsung Galaxy Note 2 & Galaxy S3 to Unlock, Open Camera, & More
5 Tips on How to Upload YouTube Videos Uploading only HD videos on YouTube is like having a jet pack toward success; it gives you the upper hand against your competitors.
How to Upload Videos to YouTube (for Beginners)
The Ambient Display in Android Pie now shows the weather and battery percentage. In Android Pie, the volume keys' default action would be to control media volume. There's also a new look
12 Android Pie features to get excited about - CNET
If your phone is currently in a bootloop and you're unable to access Magisk Manager, start by booting into TWRP. You can do this on most phones by holding the volume down button between bootloops — i.e., when the screen goes black.
Problem in Hacking Android Phone « Null Byte :: WonderHowTo
How to : Change the LED Color on an Optical Mouse.: Here's my entry to the L.E.D. contest The best thing with this hack is that it works!
How To Change LED Color of a Mouse - YouTube
In Jeri Ellsworth latest nerd lab vid notes, she explains how to make an IR detection device by "quenching" copper-doped zinc sulfide (ZnS:CU) glow powder and how to measure temperature with thermally-quenched phosphors. Practical uses of Quenching in Phosphors
Practical uses of Quenching in Phosphors - YouTube
Report Ad
Search for Cal's Cell Phone #, Address, Pics, Social & More. Search Now!
The Bottom Line The Palm Centro isn't the innovative product we were looking for from the company, but with its slimmer size, ease of use, and affordable price tag, the Centro is a good option for
PDF Sprint® Service Palm® Centro™Smart Device User Guide
0 comments:
Post a Comment